Doorframe bars, rings with measurement markings, and compact parallel bars suit small living areas, yet reaching a full pull‑up demands a structured training plan and patience. Standard gym memberships supply machines and free weights, while home calisthenics employs elastic bands and controlled negatives to build pulling power over time. Discover how to start calisthenics by choosing a secure doorframe bar, adjustable marked straps, and wrist‑friendly dip bars, then using a foot loop for assisted negatives to gradually progress toward unassisted reps.
Minimalist Home Gear: Doorway Bars, Rings, and Parallel Bars
Starting calisthenics at home often meets a single obstacle: limited space. The solution lies not in buying bulky machines but in repurposing existing architecture with tiny modular tools. A doorway pull-up bar, a pair of gymnastics rings, and a small set of parallettes occupy nearly zero floor space yet cover every major muscle group.
Leverage-mounted doorway bars over friction models
A removable doorway bar should use a leverage-based hook system rather than pure friction grip. Friction bars rely on rubber pads pressed against the door frame trim and can slip during dynamic kipping or swinging movements, causing the bar to drop suddenly. Leverage bars, by contrast, hook onto the top of the frame and use downward force to lock themselves in place. Before installing, check the door frame material. Solid wood frames support heavy loads without issue, but hollow plasterboard or drywall frames can crack or collapse under dynamic loading. A quick test: press a thumb firmly into the trim. If the surface gives or feels soft, the frame lacks the density for safe bar mounting.
Numbered adjustment straps on gymnastics rings
Rings attach to the same doorway bar or a sturdy overhead anchor point. The straps should feature printed numeric markings at regular intervals, eliminating the guesswork of matching heights on both sides. Without numbered straps, each workout requires multiple adjustments to level the rings, wasting time and introducing asymmetry that strains the shoulders. With numbered markings, the user sets both rings to the same number and locks them in seconds. The instability of the straps forces the core and stabilizer muscles to engage with every rep, delivering a training effect that fixed bars cannot match. The entire ring and strap bundle weighs less than two pounds and fits in a backpack.
Parallettes for wrist-neutral pressing
Parallettes are small raised handles that shift the wrist into a neutral upright position during floor pressing movements. Standard push-ups place the wrist at an extreme 90-degree angle, which often leads to soreness or injury over time. The handle height allows the palm to face inward rather than backward, keeping the wrist joint in its strongest loading position. Modern parallettes feature non-slip carbon steel tubes with wide bases that resist tipping even during dynamic transitions like L-sit to push-up. The footprint stays small enough to fit inside a backpack.
Band-Assisted Pull-Ups: Foot Loops and Negative Eccentrics
The pull-up represents a major milestone in calisthenics. Most beginners lack the latissimus strength to lift their own body weight from a dead hang. Resistance bands provide an upward assist force that reduces the effective load, allowing the trainee to practice the full movement pattern while building the necessary muscles.
Foot loop over knee loop for longer resistance travel
A band placed under the foot delivers a longer resistance curve than one looped under the knee. The foot loop allows the band to stretch from the bar to the sole, covering the entire range of motion from dead hang to chin over bar. A knee loop compresses the band into a shorter length, reducing its effective stretch and providing uneven assistance. The foot placement also keeps the band clear of the hip crease, preventing chafing during high-rep sets.
The band assist blind spot: bottom heavy, top light
Bands provide the most assistance at the bottom of the pull-up where they are most stretched, and the least assistance at the top where the chin clears the bar. This mismatch creates a common failure point: the trainee gets stuck at the top portion of the movement, unable to lock out the final inch. To address this weakness, pair band-assisted reps with two supplementary drills. First, negative pull-ups: jump or step up to the top position, then lower the body as slowly as possible, targeting a 3-second descent. Second, top isometric holds: hold the chin-over-bar position for 5 to 10 seconds without assistance. These drills build the specific strength that bands fail to develop.
Reducing band thickness progressively
Start with a band that allows 5 to 8 controlled reps per set. When that band becomes easy, switch to a thinner band with less assistance. The transition is not timed by weeks but by performance. Some trainees progress after two weeks of consistent work; others require a month. The key is honest self-assessment: the band should feel challenging but not impossible. A single set of five bands covers all assistance needs from beginner through intermediate levels.
Leverage Progressions: Hollow-Body Control and Eccentric Tempo
The biggest mistake in calisthenics is adding repetitions without purpose. Junk volume, which refers to extra sets done with poor form or fatigue, does not build strength. The smarter approach uses progressive overload through mechanical variation rather than counting higher numbers.
The 3-by-10 quality standard
Before advancing to a harder variation, the trainee must complete 3 sets of 10 clean reps with zero momentum and full range of motion. Clean means no kicking, no swinging, and no rushed tempos. Each rep includes a 3-second negative phase, a 1-second pause at the bottom, and an explosive but controlled positive phase. This tempo ensures time under tension, which drives muscle growth more effectively than rapid sloppy reps.
Hollow-body position as the foundation
The hollow-body position involves posterior pelvic tilt, rounded upper back, and engaged abs, creating a rigid core that links the upper and lower body. This posture appears in pull-ups, push-ups, handstands, and planches. A trainee who loses hollow-body alignment during a set is not ready to progress. The rule is simple: if the lower back arches or the ribs flare, reduce the difficulty. Drop to an easier variation and build the core control first.
Archer and pseudo planche push-ups for overload
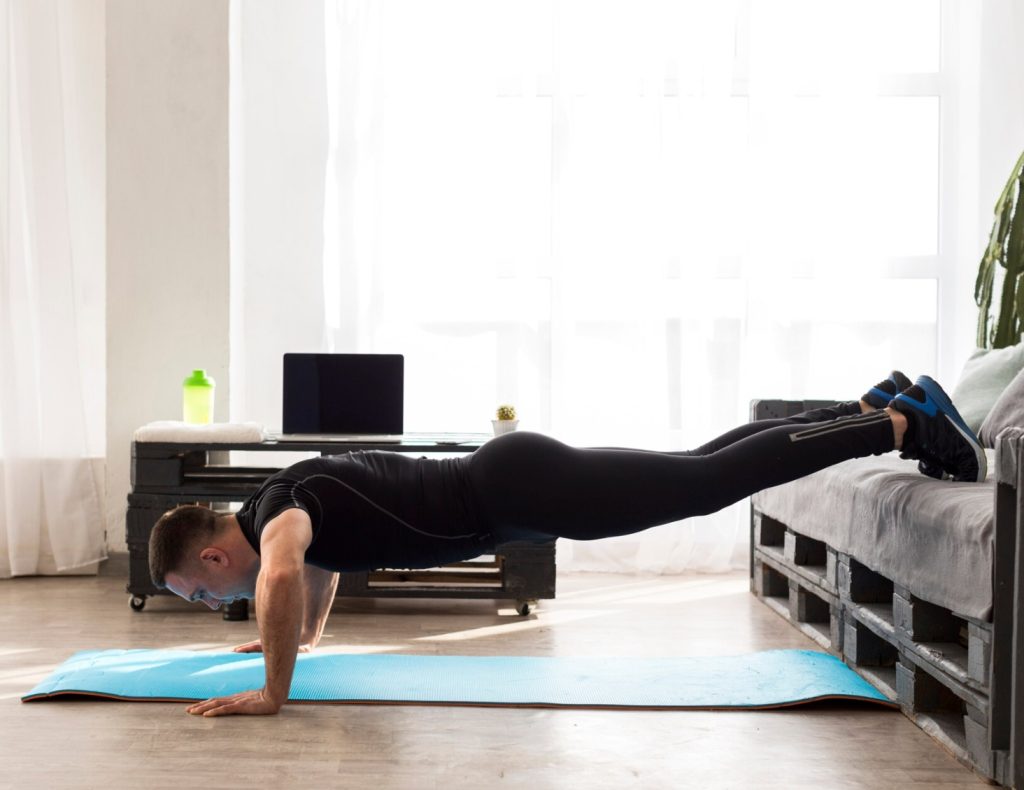
Standard push-ups lead to feet-elevated push-ups, then to archer push-ups, then to pseudo planche push-ups, then to full planche push-ups. Archer push-ups shift weight onto one arm while the other arm provides light balance, creating an uneven load that overworks the working side. Pseudo planche push-ups lean the shoulders forward past the hands, increasing the lever arm and placing more demand on the anterior deltoids and chest. Both variations produce progressive overload without adding weight plates or bands. The same principle applies to rows: horizontal rows, then wide-grip rows, then arched-back rows, then front lever progressions.
Conclusion: Hardware Check and Rep Quality First
Building a sustainable home calisthenics system relies on mastering mechanical leverage and securing reliable hardware rather than accumulating bulky exercise machines. Focus your equipment setup on a leverage-mounted doorway bar paired with numbered gymnastics rings and neutral-grip parallettes, ensuring your door frame is solid wood before executing dynamic pulls. To lock in your first full-range pull-up or advanced push-up variation, combine progressive band assistance with slow 3-second negative eccentric reps and a strict hollow-body posture, advancing to harder leverage angles only after achieving 3 sets of 10 clean, uncontrolled-momentum repetitions.